Getting Started
1. Importing and Updating
Installing from the Package Manager:
- Select
Window/Package Managerfrom the top toolbar in the Unity Editor.- If a previous version of ZFighter is already installed, select
In Project. - Find and select the ZFighter package in the list.
- Click the
Removebutton to uninstall ZFighter before installing the updated version. Scene data for ZFighter will be preserved.
- If a previous version of ZFighter is already installed, select
- Select
My Assets. - Find and select the ZFighter package in the list.
- Click the
Downloadbutton if necessary to download the package. - Click the
Importbutton. - Close and re-open Unity.
2. Initialize the Scene
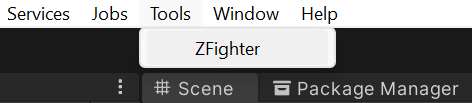
Navigate to the top bar and select Tools/ZFighter to open the ZFighter UI Window.
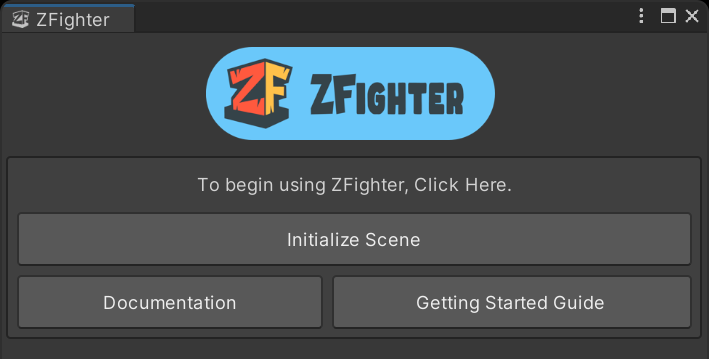
Click the Initialize Scene button.
This creates a GameObject in the scene where all ZFighter data is saved.
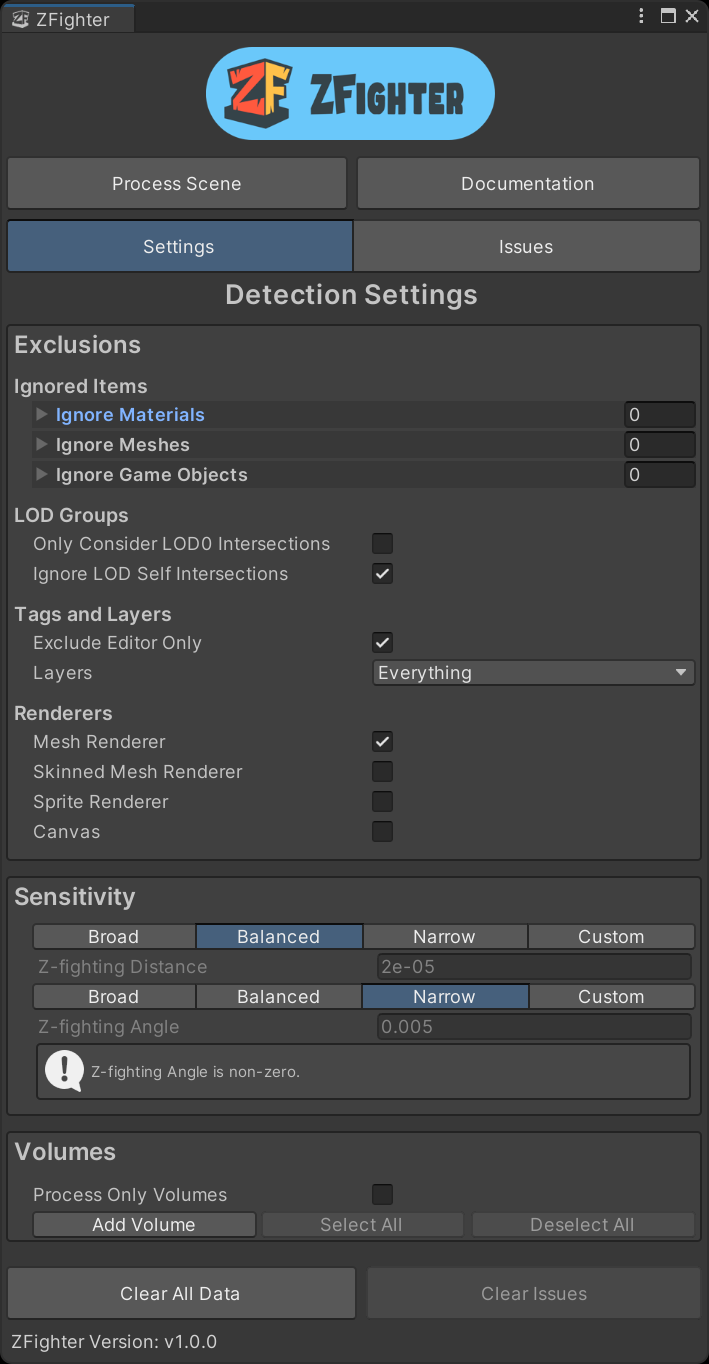
Once initialized, the ZFighter window displays the Settings Tab. View and modify the Detection Settings appropriately for the current scene. The default settings will work for most scenes.
3. Process the Scene
Press the Process Scene button.
The Process Scene dialog displays.
It is recommended to choose Save and Process, which saves the scene before and after processing.
An option is also provided to Process Without Saving, but scene data may be lost if something goes wrong during the processing.
The scene is left unsaved after processing. Save the scene manually to keep the processing results.
A progress bar displays during processing.
The processing can be canceled at any time by clicking the Cancel button.
See Tips for general advice on how to work with ZFighter and improve processing time.


4. View Issues
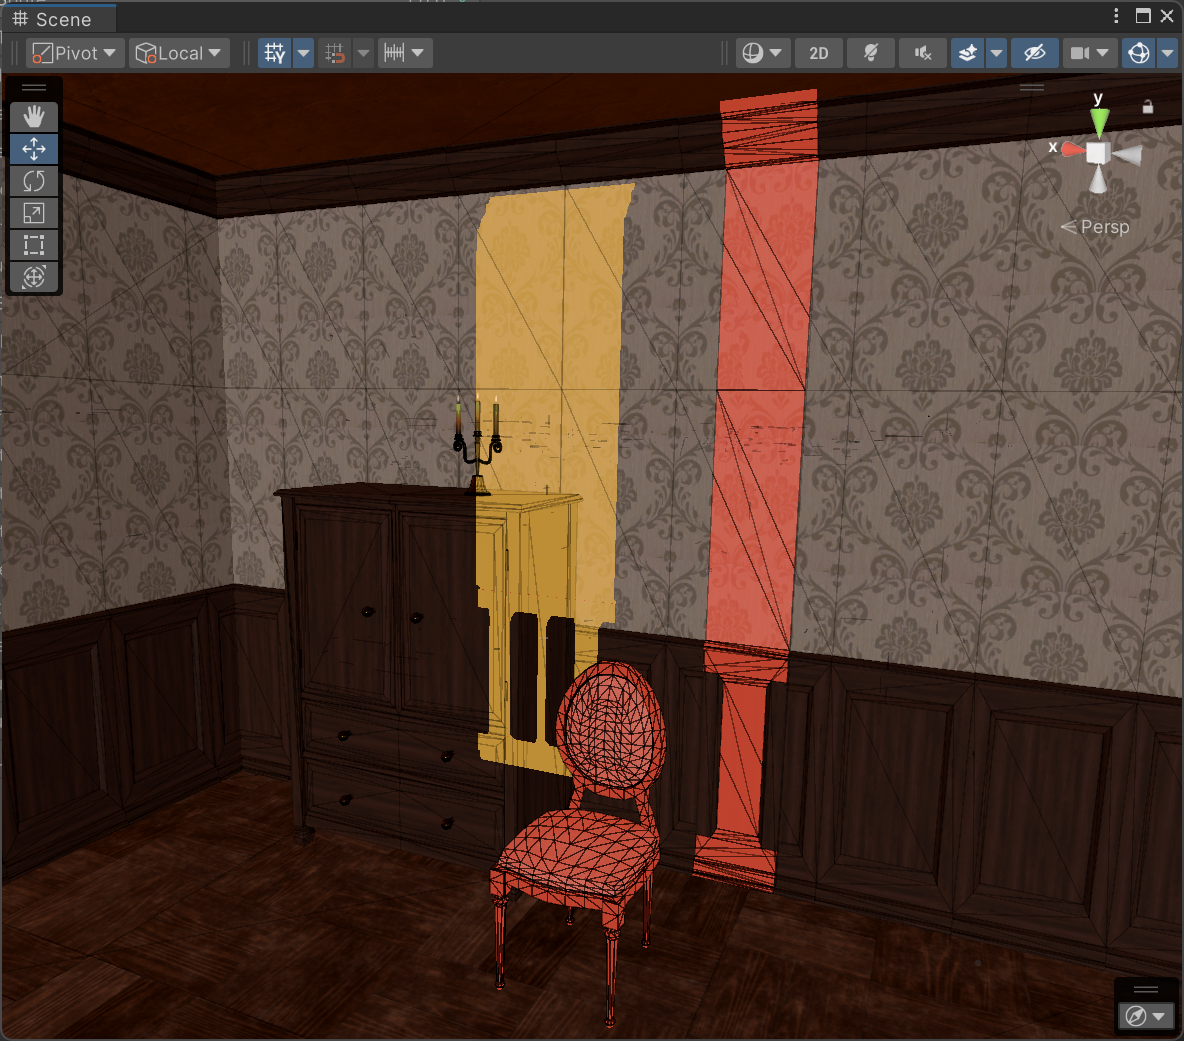
In the Unity Scene view, all potential z-fighting areas are displayed with a colored overlap visual.
The default settings in View Options display z-fighting Overlap front faces and back faces in contrasting colors. These may be changed for better visibility per scene.
If the overlap is not blinking smoothly, check your Scene view settings and enable Always Refresh in the dropdown that toggles Skybox, Fog, and other effects.
The ZFighter window switches to the Issues Tab after processing is finished.
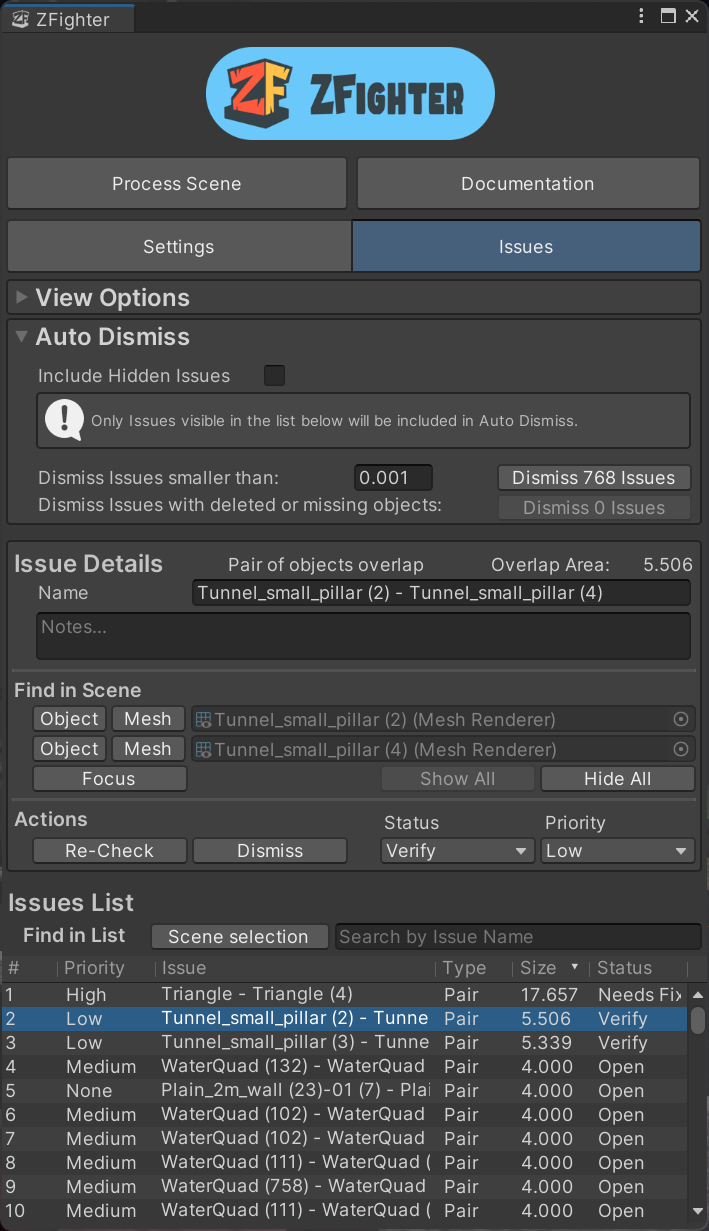
The Issues List is a list of Issues found through processing the scene. Each Issue in the Issue List is a single instance of potential z-fighting, either between pairs of Renderers or within a single Renderer. The Issue Details section displays information and actions for the selected issues. This includes the Renderers that caused the z-fighting, and editable Status, Name, Notes, and Priority properties.
See Issues List Workflow Guide for more details on how to work with the Issues list and finding, selecting, and managing individual issues.
5. Re-Check and Resolve Issues
After you have investigated an Issue and applied a fix by moving, modifying, or otherwise addressing the problem, click the Re-Check button to test that specific Issue.
The Dismiss button is a quick way to mark an issue as resolved.
It is recommended to click Process Scene again after multiple edits to ensure that all Issues are up to date.
See Issues List Workflow Guide for more details about resolving issues and clean-up.